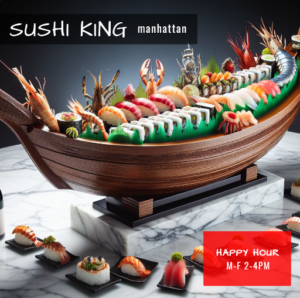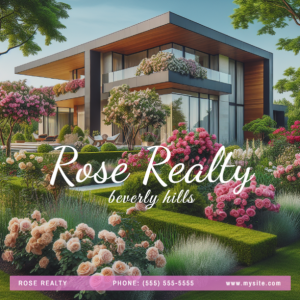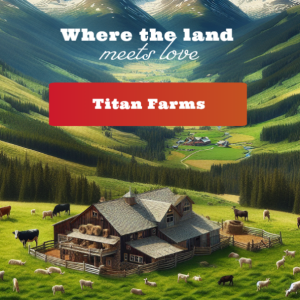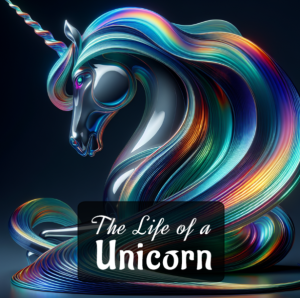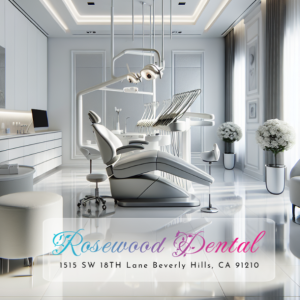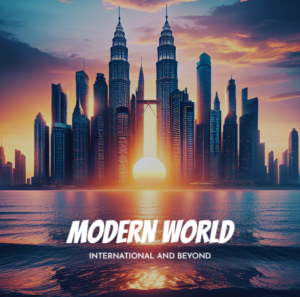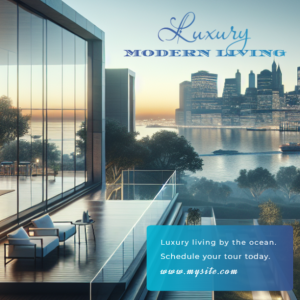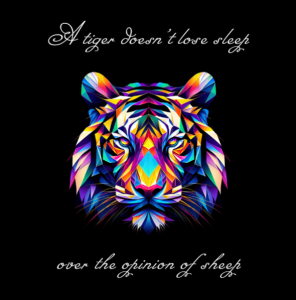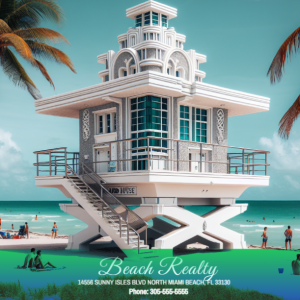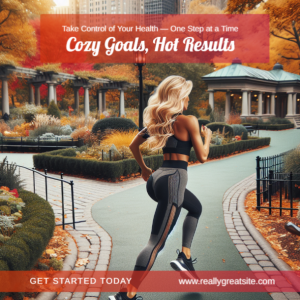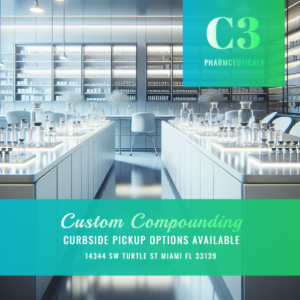

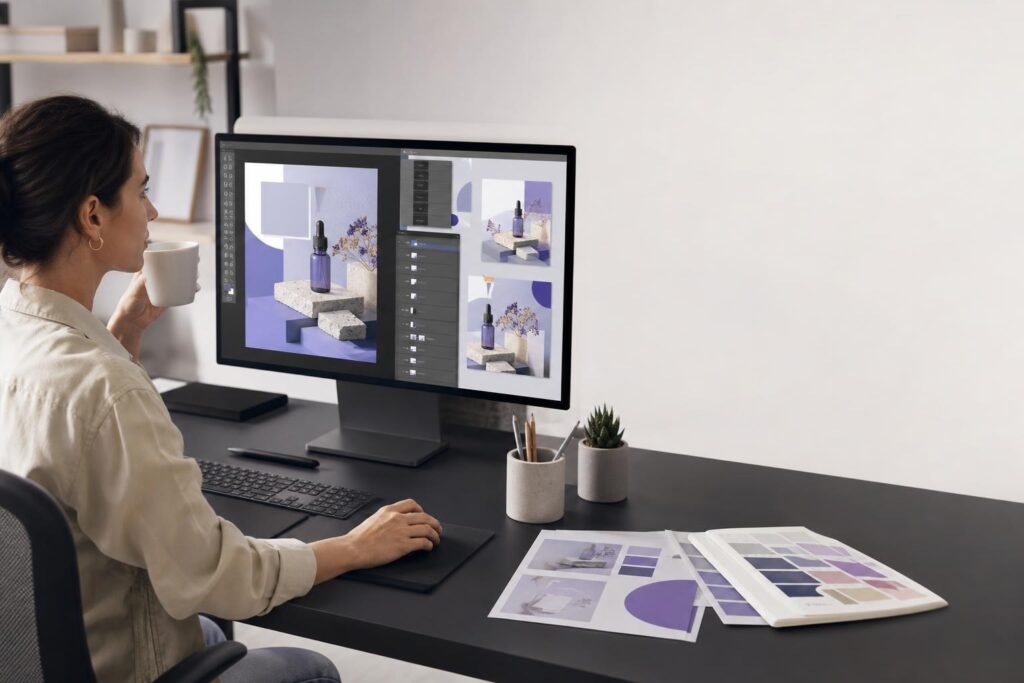
A promotion is ready to launch, but the visuals are not. The product photo needs context, the social graphic needs a stronger headline, and the email banner still looks disconnected from the ad.
For entrepreneurs and small teams, this is rarely one difficult design problem. It is a chain of small decisions spread across too many files, tools and conversations. Each revision adds friction, and a simple campaign becomes an afternoon of searching, editing and exporting.
A better image editing workflow creates one clear path from campaign idea to publishable visual. It helps you decide what to make, choose the right source material, build related graphics efficiently and review them before they reach customers.
Why fast marketing graphics become slow projects
Most campaigns need more than one image. A launch may require a website hero, a social post, an ad variation, an email graphic and a promotional banner. Although these assets support the same message, teams often create each one as an isolated task.
That approach introduces predictable delays:
- Searching repeatedly for suitable images
- Rebuilding the same colors, text and graphic elements
- Trying unrelated creative directions without a decision framework
- Requesting feedback on individual details rather than the full campaign
- Discovering late that important text is difficult to read or poorly positioned
- Exporting files without clear names or intended-channel labels
The goal is not simply to edit faster. It is to reduce the number of avoidable decisions between the initial offer and the finished campaign.
A seven-step image editing workflow for recurring campaigns
1. Write a one-sentence campaign brief
Before selecting an image, define what the graphic must communicate. Keep the brief short enough to guide every visual decision.
Promote a limited spring service package to busy homeowners and direct them to request an appointment.
Identify the audience, offer, desired action and overall tone. If the visual needs to communicate several competing offers, narrow the message before opening an editor. Better tools cannot fix an unclear campaign objective.
2. Build a small asset list
List the graphics you actually need and where each will appear. This prevents last-minute requests and helps you distinguish between assets that can share a composition and those that need a different layout.
A simple launch list might include a wide website banner, a square social graphic, a vertical story visual and a horizontal email image. Note the primary message for each placement rather than assuming the same amount of text will work everywhere.
3. Choose the right image source
There are three practical starting points: generate a new visual, upload an existing business asset or work with a stock image. The right choice depends on the campaign.
- Generate an image when you need a particular concept, mood or setting that is difficult to find.
- Upload your own image when the actual product, location, team or work should be recognizable.
- Use stock imagery when a broader lifestyle or business scene supports the message without needing to depict something unique.
The Elite UI AI Image Editor and Image Generator brings image generation, uploads and stock images into an editing workflow with text, shapes, effects, layers and export tools. That makes it useful when the bottleneck is moving from source image to finished campaign graphic without piecing together a fragmented process.
4. Create the main composition first
Start with the highest-priority placement. Establish the focal image, headline area, visual hierarchy and supporting graphic elements before building channel variations.
Use layers deliberately. Keep the source image, text, shapes and effects logically separated so that adjustments do not require rebuilding the composition. A translucent shape behind a headline, for example, may improve readability while preserving the image underneath.
Avoid filling every open area. Negative space helps viewers recognize the subject and understand the message quickly, especially when they encounter the graphic on a small screen.
5. Turn the main direction into a campaign family
Once the primary composition works, adapt its visual logic rather than inventing a new design for every placement. Reuse the same image treatment, color direction, type hierarchy and supporting shapes where appropriate.
Adaptation does not mean squeezing an unchanged design into every format. A wide banner may place the subject to one side, while a vertical visual may require tighter framing and less copy. Preserve the campaign identity while adjusting the composition for the available space.
6. Review the visuals in context
A graphic can look polished inside an editor and still fail in its destination. Review each asset at approximately the size and setting in which customers will see it.
Check whether the subject is immediately clear, the headline is readable and the visual supports the action you want someone to take. Look for awkward generated details, misleading product representations, accidental cropping and text positioned too close to an edge.
For paid ads, marketplace listings or other regulated placements, also confirm the platform’s current specifications and policies before publishing. Image editing software helps produce the asset, but channel compliance still requires human review.
7. Export with an operational naming system
Export only after the final review, then name each file according to its campaign and destination. A practical format might include the campaign, placement, version and date.
Clear names make approvals and later updates easier. They also reduce the risk of uploading an old version because several files were all called “final.” Keep editable source work separate from publishable exports so that future revisions have a clear starting point.
How this workflow applies to different businesses
The process stays consistent even when the visual content changes.
- Local services: Combine an authentic project or location image with a concise seasonal offer and booking-oriented message.
- Ecommerce: Place a real product image into a campaign composition, then create related graphics for a launch, promotion or collection.
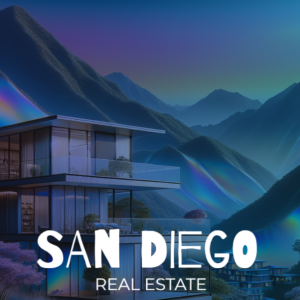
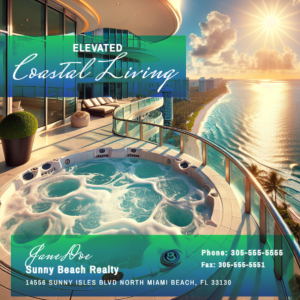
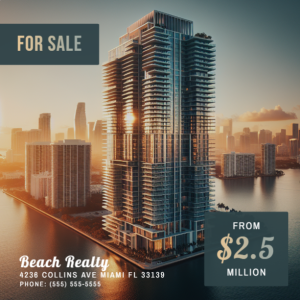
- Real estate: Build coordinated property-announcement visuals while keeping listing details readable and the property itself prominent.
- Professional services: Turn an abstract service benefit into a clean promotional graphic for an event, consultation or resource.
- Creators: Develop a repeatable visual direction for new releases, sponsorship announcements or audience offers.
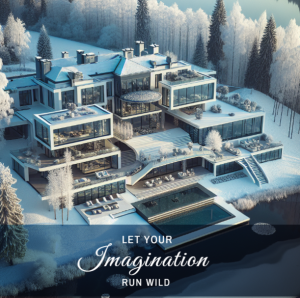
- Startups: Generate concept-led visuals for landing pages and launch campaigns when suitable original photography is not yet available.
Not every asset should be AI-generated. Real products, completed work and identifiable locations are often best represented with genuine images. Generation is most useful when it fills a visual gap rather than obscuring what customers are buying.
Is an AI image editor a fit for your workflow?
It may be a practical fit if:
- You regularly need promotional graphics but do not have a full-time design team.
- Your source material is spread across generated images, business uploads and stock options.
- You want to combine imagery with text, shapes, effects and layered elements.
- Your current process involves excessive switching between separate creation and editing tools.
- You need a self-serve way to explore and refine visual directions before publishing.
You may still need professional design support if:
- You are developing a complete visual identity from the ground up.
- The project involves detailed art direction across many customer touchpoints.
- You need complex custom illustration or extensive image manipulation.
- A high-stakes campaign requires formal brand governance and specialist production review.
An image editor does not replace creative judgment. It gives owners, marketers and creators a more direct production environment for everyday visual work. If your underlying identity is still undefined, establishing a usable direction with the AI Logo Generator can help clarify the visual anchors you carry into campaign graphics.
Common concerns before changing your process
Will AI-generated visuals look generic?
They can if the creative direction is vague. Define the subject, environment, mood, composition and intended placement before generating. Then edit selectively rather than accepting the first output. Consistency comes from repeated brand decisions, not from generation alone.
Do I need design experience?
You do not need to be a professional designer to improve a basic promotional workflow, but visual fundamentals still matter. Prioritize one message, create readable contrast, limit competing elements and leave enough open space. Start with straightforward compositions before adding more effects.
Should every campaign be created from scratch?
No. Repeated campaigns benefit from stable choices: a small color palette, consistent headline treatment, familiar shapes and a defined approach to photography or generated imagery. The campaign concept can change while the underlying system remains recognizable.
Move from scattered edits to a repeatable visual system
Fast visual creation is less about rushing and more about removing rework. Begin with a clear campaign brief, plan the required assets, choose source imagery intentionally and develop one strong direction before creating variations.
When you are ready to generate, edit and assemble your next promotional visual in one focused workflow, Create an AI Image.
Ready to Turn This Into a Faster Workflow?
Try AI Image Editor & Image Generator inside Elite UI and move from research into a real business-ready result.
Product features, pricing, plan details and availability may change. Check the current Elite UI product page for the latest information before purchasing or publishing.