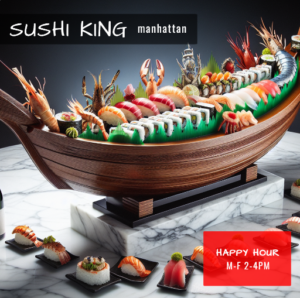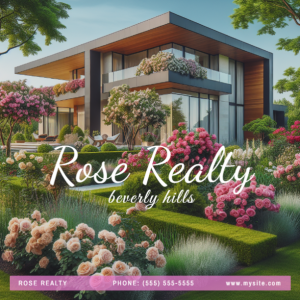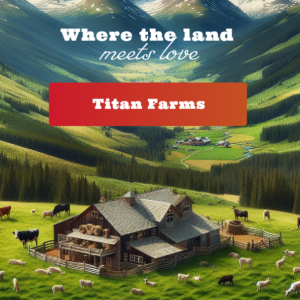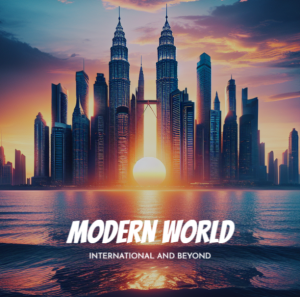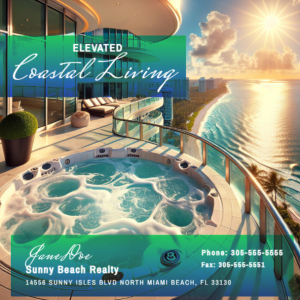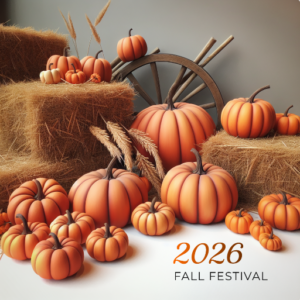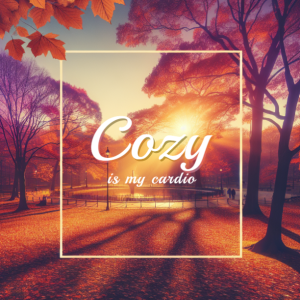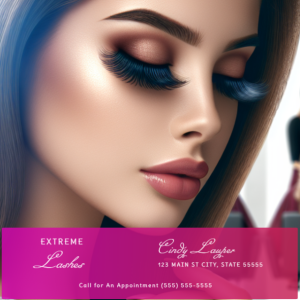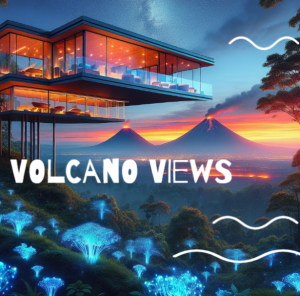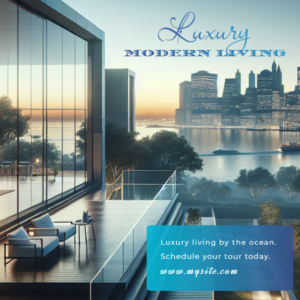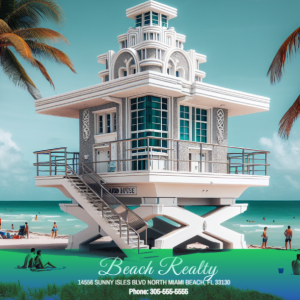

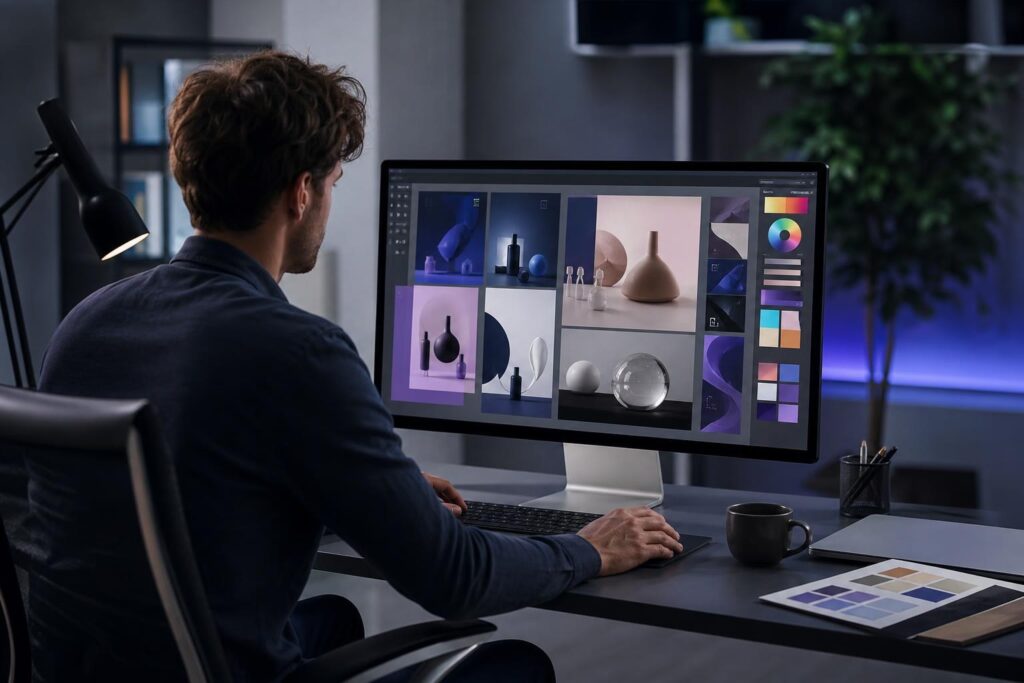
You need a promotional graphic today, not after three rounds of file hunting, resizing and second-guessing. Yet a seemingly simple task—creating an ad, sale image or launch announcement—can quickly turn into an improvised design project.
The problem is rarely a lack of ideas. It is the friction between the idea and a finished visual: finding usable imagery, choosing a layout, adding text, making the design feel consistent and exporting something ready to publish.
A fast image editing workflow removes unnecessary decisions without reducing every graphic to the same generic template. The goal is to create a repeatable path from campaign idea to usable asset while preserving enough flexibility for different channels, offers and audiences.
Why business graphics take longer than expected
Entrepreneurs often approach each graphic as an isolated task. They open a design tool, search for an image, experiment with colors, rewrite the headline and adjust the layout until something looks acceptable.
That process may work once. It becomes expensive in attention when repeated across social promotions, display ads, email banners, website graphics and launch announcements.
Common delays include:
- Starting from a blank canvas without a defined message hierarchy
- Searching multiple sources for an image that fits the campaign
- Using inconsistent colors, effects or visual styles
- Trying to communicate too many benefits in one asset
- Rebuilding similar graphics instead of reusing a proven structure
- Exporting before checking how the design reads at a smaller size
The better approach is to separate strategic decisions from production decisions. Decide what the graphic must communicate first. Then use a consistent editing sequence to assemble it.
The five-part brief that prevents blank-canvas paralysis
Before opening an editor, write a compact production brief. It does not need to be a formal creative document. Five clear inputs are enough for most small-business graphics.
- Objective: What should the viewer understand or do?
- Audience: Who is this visual intended to reach?
- Primary message: What is the one idea that must remain clear?
- Visual direction: What subject, setting or mood supports that message?
- Destination: Where will the graphic appear and what happens after a click?
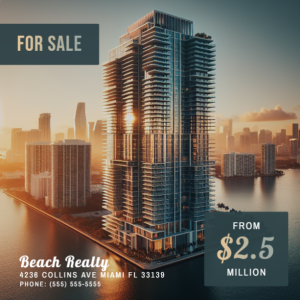
A local cleaning company might need a seasonal promotion aimed at homeowners. A creator may need a launch image for a new digital product. A real estate professional might need a polished property announcement. The industries differ, but the production brief performs the same job: it narrows the creative problem before editing begins.
If you cannot summarize the primary message in one short sentence, the graphic probably has too many jobs.
A fast image editing workflow for recurring campaigns
1. Choose the source image based on the job
There are three practical starting points: generate an image, upload an existing asset or select a stock image. Choose according to what the campaign needs rather than defaulting to the same source every time.
Generated imagery can help when you need a specific concept or visual direction that is difficult to photograph quickly. Uploaded images are useful when the product, property, team member or real-world result must be authentic. Stock imagery can work for supporting concepts, backgrounds and general service themes.
The Elite UI AI Image Editor & Image Generator brings image generation together with uploads, stock images and editing tools. That reduces the need to switch between separate environments merely to find a starting asset and turn it into a campaign graphic.
2. Build the composition before adding details
Place the main visual first and identify where the message will sit. Look for natural negative space around the subject rather than laying text across a visually busy area.
At this stage, focus on three zones: the primary image, the headline area and the action or offer area. Avoid adding decorative elements until those zones work together.
A useful test is to zoom out or view the design at approximately the size someone may encounter it. If the subject and primary message disappear, additional effects will not solve the structural problem.
3. Add a concise message hierarchy
Most promotional graphics need fewer words than the creator initially wants to include. The image should attract attention and communicate the core offer; the caption, landing page or product page can provide the details.
Use a simple hierarchy:
- A short headline that communicates the main benefit, announcement or offer
- One supporting line only when context is necessary
- A brief action phrase if the placement requires one
Text, shapes and contrast should make that hierarchy easier to scan. They should not compete with the image. Layers are especially useful here because they allow you to adjust each component without rebuilding the entire composition.
4. Apply brand signals selectively
Consistency does not require placing every brand element on every image. A limited color palette, recurring text treatment and recognizable visual mood can create continuity without crowding the design.
If your business does not yet have a stable visual identity, settle basic brand decisions before producing a large batch of campaign assets. The AI Logo Generator can help guide early logo concepts, but the logo should remain one part of the system rather than the entire design strategy.
Use effects carefully. An effect should clarify the focal point, improve legibility or support the intended mood. If it exists only because the tool makes it available, it may be adding friction instead of value.
5. Create one strong master before making variants
Do not begin by producing five versions simultaneously. Finish one clear master composition, then adapt it for different placements or messages.
When creating variants, preserve the visual logic: subject placement, message hierarchy, core colors and overall mood. Change only what the new use requires. This keeps a campaign recognizable while avoiding repetitive production work.
6. Run a pre-export check
Before exporting, review the graphic as a customer rather than its creator. Ask:
- Can someone understand the main message in a few seconds?
- Does the image support the offer rather than merely decorate it?
- Is the important text readable at the likely viewing size?
- Are spacing, alignment and contrast consistent?
- Does the graphic lead naturally to the correct page or next action?
For a launch campaign, that final question matters beyond the image itself. The destination should continue the same message and visual direction. If you still need to create that destination, an AI Website Builder can help move the campaign from a standalone visual toward a customer-ready web presence.
How the workflow changes by business type
The same production system can support different commercial needs:
Local services: Create seasonal offers, service reminders or before-and-after campaign layouts. Use authentic uploaded work when proof matters, and generated or stock imagery when the message is more conceptual.
Ecommerce: Build product-focused launch visuals, promotional banners and themed campaign assets. Keep the product prominent and avoid effects that distort what buyers should expect.
Professional services: Produce webinar announcements, report promotions or service-package graphics. Prioritize clarity and credibility over visual novelty.
Creators: Develop launch art, content-series covers and promotional images around a consistent visual world. Reusable composition rules can keep frequent publishing from becoming frequent redesigning.
Small agencies and marketing teams: Establish a master layout before creating campaign variants. This makes feedback more focused because reviewers can evaluate the system once instead of debating every asset from scratch.
Is an AI image editor the right fit?
This workflow is a strong fit when you regularly need polished business visuals but do not want every asset to become a separate design project. It is particularly useful for founders, marketers and creators who need to combine image sourcing, generation and editing in a cleaner process.
It may not be the complete answer when a project requires complex illustration, advanced photo manipulation, a detailed brand campaign or extensive art direction. In those cases, a professional designer can provide valuable judgment and original craft. A self-serve editor can still help with concept exploration, straightforward production tasks and everyday campaign variations.
Another common question is whether generated visuals will look too generic. The risk increases when the visual direction is vague. A specific subject, setting, mood and composition gives the image a clearer job. Combining generated imagery with deliberate text, shapes, layers and brand choices also turns the starting image into a more purposeful business asset.
You may also wonder whether speed will create inconsistent branding. It can if every asset starts with different decisions. That is why the brief, master composition and pre-export check matter. The tool accelerates production; the workflow protects consistency.
What to standardize—and what to keep flexible
Standardize the parts that should not require a new debate: your basic color choices, headline treatment, spacing preferences, approval questions and master composition patterns.
Keep the campaign concept, source imagery and message flexible. A repeatable workflow should remove avoidable effort without making every promotion look identical.
The practical advantage is not simply creating an image quickly. It is reducing the distance between a business idea and a visual that is ready to support an ad, promotion or launch.
When your next campaign needs a visual, start with the five-part brief, build one strong master and refine it through a consistent editing sequence. To move from concept to finished asset in one workspace, Create an AI Image.
Ready to Turn This Into a Faster Workflow?
Try AI Image Editor & Image Generator inside Elite UI and move from research into a real business-ready result.
Product features, pricing, plan details and availability may change. Check the current Elite UI product page for the latest information before purchasing or publishing.