Step-by-Step Guide to Setting Up a Magento Store on Amazon Lightsail
Starting an eCommerce business can be an exciting venture, and choosing the right platform and hosting service is crucial to your success. Magento is a powerful and flexible eCommerce platform, and Amazon Lightsail offers an affordable and user-friendly hosting solution. In this step-by-step guide, we’ll walk you through setting up a Magento store on Amazon Lightsail.
Why Use Amazon Lightsail for Magento?
Amazon Lightsail is a great choice for hosting your Magento store for several reasons:
- Cost-Effective: Affordable, predictable pricing plans.
- Simplicity: Easy to set up and manage instances.
- Scalability: Easily scale your infrastructure as your business grows.
- AWS Integration: Access to the broader suite of AWS services.
Prerequisites
Before you begin, ensure you have:
- An AWS account.
- Basic knowledge of SSH and the command line.
- A domain name (optional but recommended).
Step 1: Create a Lightsail Instance
- Log In to AWS Lightsail:
- Visit the Amazon Lightsail Console.
- Log in with your AWS credentials.
- Create an Instance:
- Click “Create instance”.
- Choose your instance location (preferably close to your target audience).
- Under “Select a blueprint”, choose “Magento”.
- Choose an Instance Plan:
- Select a plan that fits your needs and budget. The $5/month plan is a good starting point for small stores.
- Name Your Instance:
- Give your instance a recognizable name.
- Create the Instance:
- Click “Create instance” to launch your server.
Step 2: Connect to Your Instance
- Access Your Instance:
- Once your instance is running, click on its name to open the management page.
- Click “Connect using SSH” to open an SSH session in your browser.
- Retrieve Your Password:
- The Magento admin password is stored in a file. To retrieve it, run the following command:
2. Obtain and Install the SSL Certificate:
- Run Certbot to obtain and install your SSL certificate:
- Follow Prompts:
- Certbot will guide you through the installation process. Ensure you select the option to redirect HTTP to HTTPS.
Step 6: Final Configuration and Customization
- Configure Magento Settings:
- Log in to your Magento admin panel.
- Navigate to Stores > Configuration and configure your store settings such as currency, shipping methods, and payment gateways.
- Install Themes and Extensions:
- Customize the appearance of your store by installing Magento themes.
- Enhance functionality by installing necessary extensions from the Magento Marketplace.
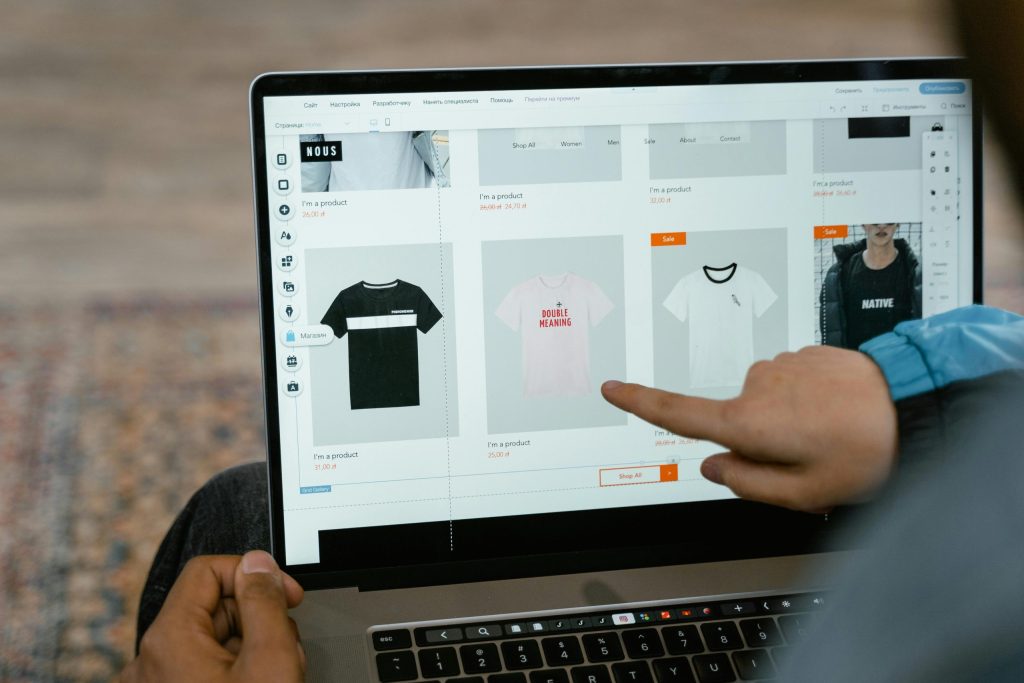
- Add Products:
- Go to Catalog > Products and start adding your products, including images, descriptions, prices, and other relevant details.
- Test Your Store:
- Thoroughly test your store to ensure everything is working correctly, including the checkout process, payment gateways, and other functionalities.
Conclusion
Setting up a Magento store on Amazon Lightsail is a cost-effective and efficient way to launch your eCommerce business. By following this step-by-step guide, you should have a fully functional Magento store ready to customize and populate with your products.
Remember to regularly back up your data, keep your Magento installation and extensions updated, and monitor your site’s performance to ensure a smooth and secure shopping experience for your customers.
Happy selling!